How to create custom templates for jewelry making?

by - Thursday, February 22, 2018

Photo of jewelry set (necklace and earrings) in turquoise blue and silver
In jewelry creating, the shape and size of the beads can enhance or destroy our design. This is especially important if we use materials such as polymer clay (or any other clay) for jewelry making. Many years back when I discovered polymer clay I only could find cookie cutters in standard shapes, such as rhomb, triangle, heart, and circle. Since I like to make bigger pendants and focal beads their size did not suit my needs, and naturally, I wanted to have a choice of different shapes. So, after several trial and errors, I figured out how to make my own templates which I can use over and over again.
These days we can buy all sorts of cutters, templates, and stencils which make it easier for us to shape polymer clay, but sometimes they are pricey or we want to use the specific shape in a certain size that we can't find anywhere. The solution is to make your own custom templates. They are great for shaping and creating jewelry from polymer clay, air dry clay, porcelain, metal clay, ceramic, leather, plastic, metal sheets and all sorts of other materials. Once you learn how to create your own templates you will have a plenty options for using them in a lot of different DIY projects, not only for jewelry making. As well, they will help you to differ your design from others. I use custom made templates constantly, and you will see them in many of my previous and future DIY projects I share on my blog. Creating of custom templates for jewelry making is similar to those hearts I show you in the tutorial for Elegant cards, but now I will share some of my trade secrets and tips and tricks. So, let's get started!

Materials and tools

Printing paper (A4)
Pencil
Eraser
Ruler
Scissors
Curve ruler
Plastic folder
Non-permanent marker
70% rubbing alcohol
Cotton pads

Step 1.

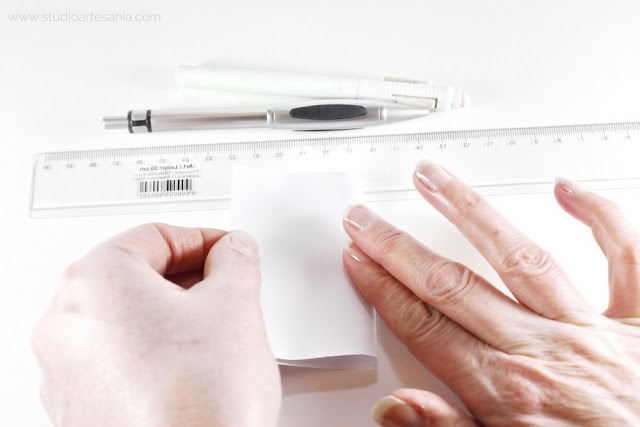
Photo of hands that folding paper
Cut the printing paper in several different sizes. Take a piece of printing paper and fold it in half so the edges are side by side.

Step 2.

Photo of hands folding paper
Press the crease with fingers to flatten it.

Step 3.

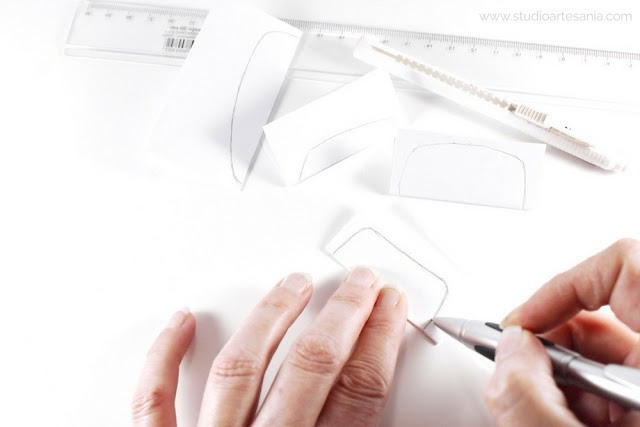
Photo of the hands drawing the template
Draw a half of the desired shape on the paper keeping in mind that the folded part of the paper will be the center of the template. You can draw the half of the shape freehanded or if you want to be precise, use the ruler to measure the desired dimensions.
Photo of the hands drawing the template
Mark the dimensions with the pencil and connect the points using the regular ruler for straight lines or curve ruler for curved lines. 

Step 4.

Photo of the hands cut the template with scissors
Cut out the pattern along the lines and unfolded it. You will get a perfectly shaped template.

Step 5.

Photo of different templates
I will show you in another tutorial how to use these templates on a polymer clay, but for now, you need to know that you can't use folded templates on it. The fold will imprint on the clay and ruin your work. A solution to this problem is the plastic folders. They are cheap, and from one folder you can make a lot of templates. It is best to use transparent folders so you can see through it. Split and cut the folder to get flat pages. With a double adhesive tape attach the base template to the foil and trace its shape with a non-permanent marker. Remove the base template and the tape from foil. Cut the shape with the scissors or with X-Acto knife for greater precision.
Photo of the hand holding the templates
Remove the excess of the marker with the cotton pad on which you drip a bit of rubbing alcohol. If you want you can write the measurements of the template in the middle of it with a permanent marker, but then make sure you do not put marked side of a template onto the clay.
You can transfer the shape of the template on another flat piece of paper in case you would not use it often, but know that plastic one is better and durable. That's it! Your templates are ready to use.

Tips, tricks, and few ideas

Photo of the hands drawing the template with the cup
      If you do not have curve ruler you can use cup, bowl or plate. They also came handy for creating different sizes of circles and semicircles. You can use a cup, bowl, and plate to make various shapes of leaves
Photo of different templates
For semicircle unfold the template and cut it in the half with the scissors, or if you want to be precise use ruler and an X-Acto knife. Also, you can use a divider with a pencil to make a perfect circle.
Photo of the hands cut the template with scissors
      For a form where you do not want sides to be identical, you first need to make a base template. Place the base template with the identical sides on the other piece of paper (do not fold that piece) and trace the shape with the pencil. Then draw the changes. Carefully erase the lines you do not need, and cut the shape.
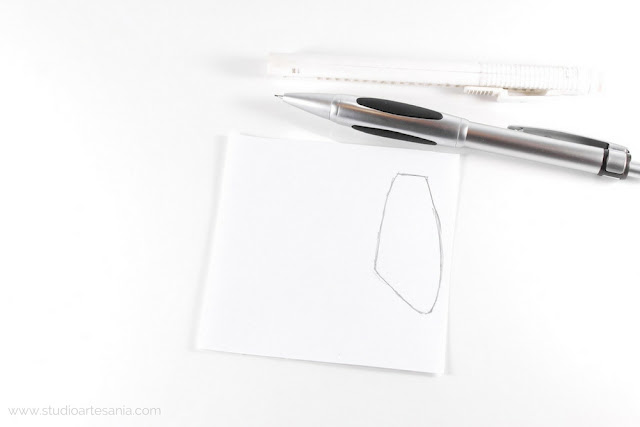
Photo of the pencil and template
      To make the same template in various sizes you will need several folded pieces of paper and base template. Bend the base template and place a folded piece of paper in the middle of it. Trace the lines of the base template on the paper. Remove the base template. Measure and mark the dimension of smaller or bigger shape, and connect the points. Cut the shape with the scissors. Repete the process until you get all the variations of the desired size of the same shape.
Photo of different templates
      I store my templates in zip bags which are placed in the box in the drawer of my desk. On every zip bag I wrote the measurements of the template with a permanent marker. This way I can easily find the one I need and return it to its place when I finish working.

You'll Definitely Like This!

0 comments