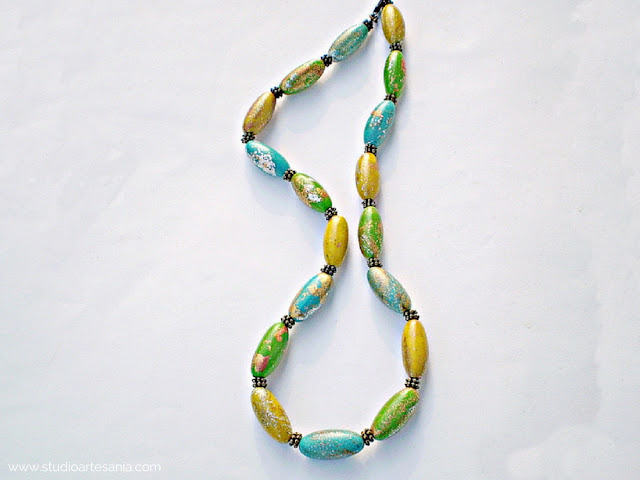
DIY Cheerful polymer clay necklace
This cheerful and colorful necklace is perfect for
all seasons and for all occasions. It can be worn with an everyday outfit, but also, because of its
discreet and elegant shine is an excellent addition to the festive wardrobe. To make it I used a variety of
Fimo clays and tools, but you can use the clays, tools, and glazes you have on hand to achieve a similar effect.
Materials and tools
1 x Fimo Soft Sunflower Yellow (16)
1 x Fimo Professional Turquoise (32)
1 x Fimo Effect Glitter White (052)
1 x Fimo Effect Glitter Silver (812)
Fimo Beads roller plus 3 (Olive shaped)
Acrylic roller
Clay machine
Fimo Metal flakes
Fimo Gloss Varnish
Piercing
pins (Needles)
Glass or ceramic tile
Shallow glass or metal bowl
Round cutter (size about 2.5 cm/1 inch)
Soft paintbrush
Printing paper
Piece of Styrofoam
Metal components for jewelry making
(bead
dividers, thin wire cord,
crimp beads, wire
guardian, jump rings, lobster clasp)
Jewelry making tools (pliers)
Step 1.
Cut two bars of clay from the packaging of glitter
silver clay. Cut three bars from the package of sunflower yellow. Condition both clay with hands, and
mix the two colors together.
Mix clay well with clay machine to obtain
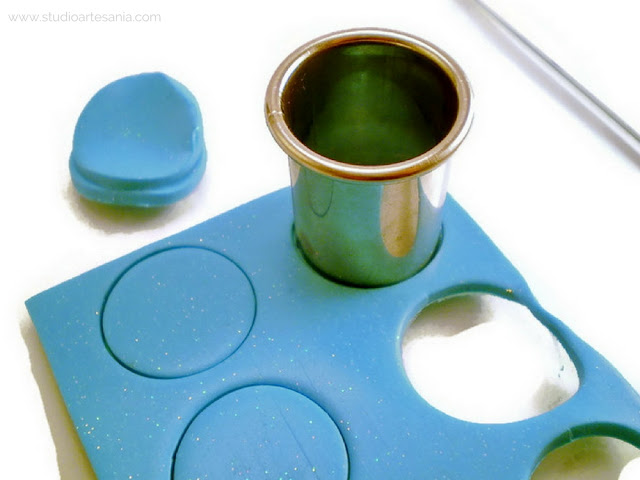
uniformly colored darker yellow tile. Cut 18 circles from the tiles with
round cutter and leave them on the side.
Step 2.
Take one bar of glitter white clay. Also cut three
bars of turquoise clay. Condition both clay with hands, and
mix the two colors together.
Mix clay well with clay machine to obtain
uniformly colored brighter blue tile. Cut 18
circles from the tile with round cutter and leave them on the side.
Step 3.
Take 12 circles of yellow clay, then join every two circles together making 6 balls. Do
the same with the blue clay, from which you will need 6 balls also. On each of
the remaining yellow circles, put one
remaining circle of blue clay, join and mix well until you get 6 balls of green
clay.
Step 4.
In a shallow
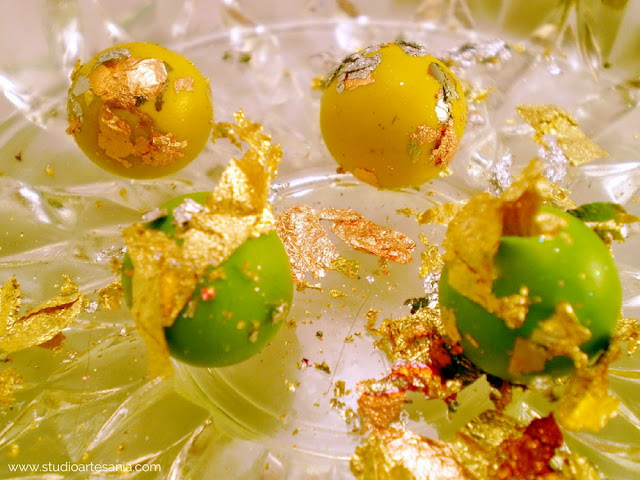
glass bowl, pour a smaller amount of metal flakes. Put the balls in a bowl and
gently shake so that metal flakes randomly stick to the clay. Repeat the
process until all the balls are partially covered in metal flakes. You do not
have to cover the entire surface of the beads, but only certain parts.
Step 5.
Step 6.
Step 7.
Step 8.
Step 9.
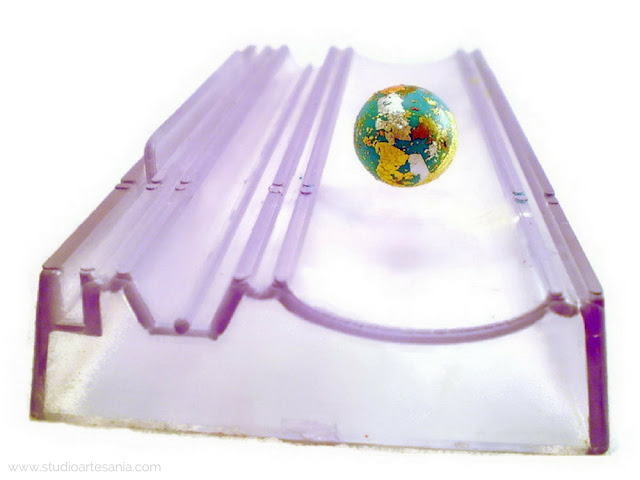
Through a dent in the tube put the needle and drill
the clay beads. Carefully remove the bead from the roller together with the
needle, and set on a paper accordion. Repeat the process until all the clay balls
are prepared in the same way.
Step 10.
Bake beads for 30 minutes at 110 ° C (230 ° F), which
is recommended temperature for baking Fimo clay. If you use other clay brands,
please read instructions on the package
to check manufacturer's recommended temperature. After 30 minutes turn off the oven,
and let beads to completely cool down. When cooled, pull the
bead to the edge of the needle.
Step 11.
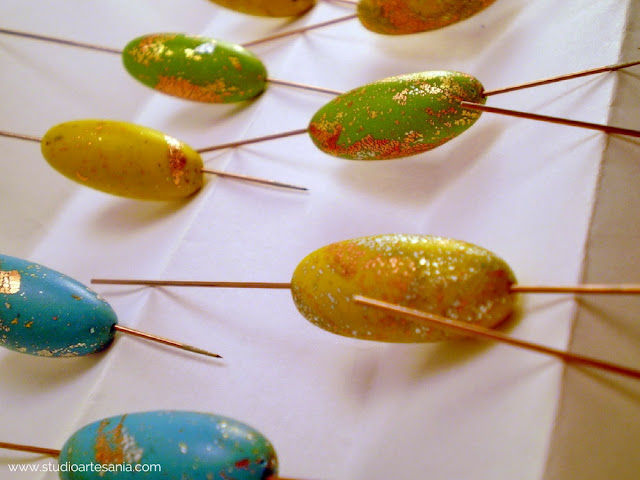
Coat each bead with a thin layer of Fimo gloss varnish and stick pins in Styrofoam. Allow the varnish to dry.









0 comments