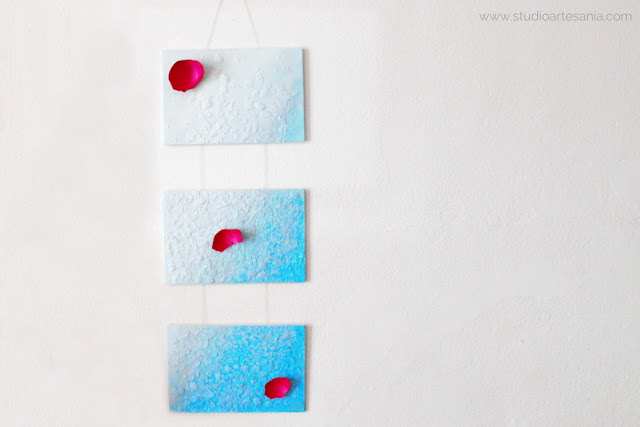
DIY Ombre texturized triptych painting
Traditionally, eggshell mosaics are made by first dying then positioning each piece individually. It's a time-consuming and delicate process. This project is total opposite - it's easy, relatively quick, and suitable for all ages and skill levels. If you do not eat the eggs but want to make this piece of art, ask your relatives and neighbors who consume them to collect for you the eggshells that they would normally throw.
Materials and tools
Eggshells (white or brown)
3 Canvas panels
Acrylic paints (white, turquoise blue, fuchsia)
Pentart antique paste silver
Tacky glue
Painter's tape
Double sided tape
Baking paper
Sccisors
Pencil
Ruler
Paintbrushes
Kitchen cloth
Paper towels
Bowl of water
Silver sting wire (0.38 mm/0.15 inches)
Hot glue gun
Step 1.
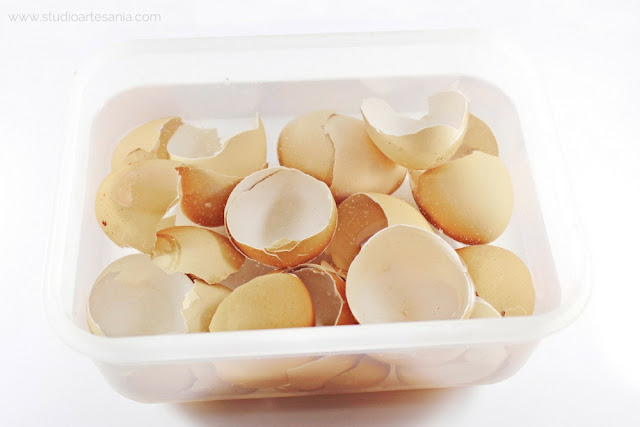
For this project, you'll need shells of fresh eggs, not boiled ones. Wash the eggshells and put them in the plastic container. Add water and let the shells to soak for minimum 3 hours. It's best to leave them to soak overnight.
The amount of eggshells you need for this project is depending on the size of your canvases. Although I prepared more I used shells from about 10 eggs for this triptych.
Step 2.
After soaking remove the white membrane in the shell. The membrane will come out easily due to soaking. If some of the shells broke during the removing of membrane keep those pieces as well.
Step 3.
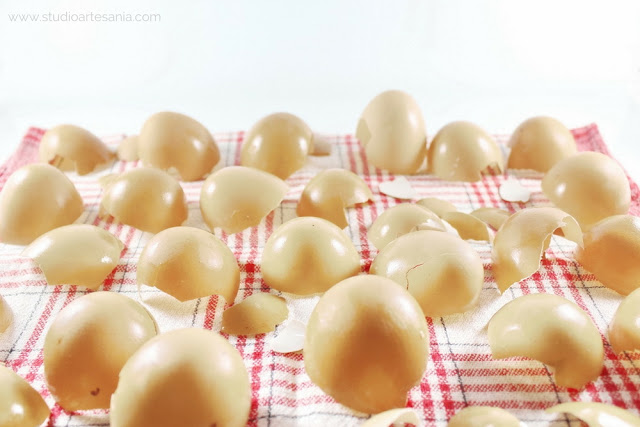
Rinse the shells again and spread over kitchen cloth to completely dry. It will take few hours for this, so I usually leave them to dry overnight. After drying collect the shells and place them into the bowl.
Step 4.
For this painting, you can use regular stretched canvases but canvas panels are better. I choose canvas panels in dimensions 12x18 cm (5x7 inches). Making of this painting is a really messy job, so protect your work surface with the cardboard or thicker layer of newspaper.
Turn the panels so its back is facing you. Place them at length close to each other and tape them with painter's tape so they are stick together. With scissors remove any excess of tape protruding from the canvases edges.
Step 5.
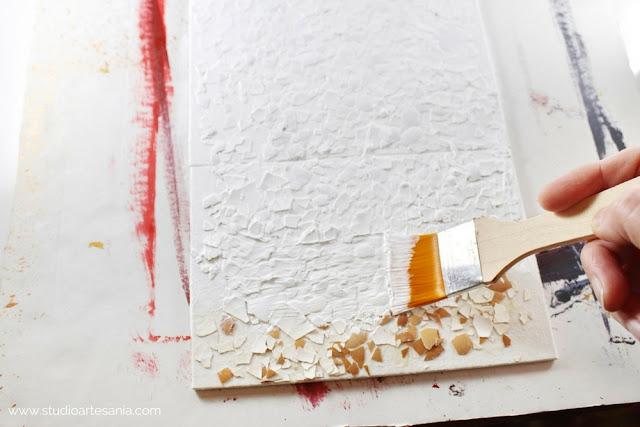
Turn back panels on the right side, and with the brash apply a thicker layer of the tacky glue on part of the canvas. Crunch few shells into smaller pieces and place them onto the glue. You can just scatter the pieces of the shells onto the canvas or place them precisely in the desired places. Continue applying the glue and the pieces of eggshells until you cover the entire surface of canvases.
I wanted to fully texturize lower parts of the painting and have texture only in a certain place on the first canvas. So, on two lover panels I'd scattered eggshells all over the entire surface, and on upper canvas, I place them precisely in certain places. Do not forget to wash your brush when you finish.
Step 6.
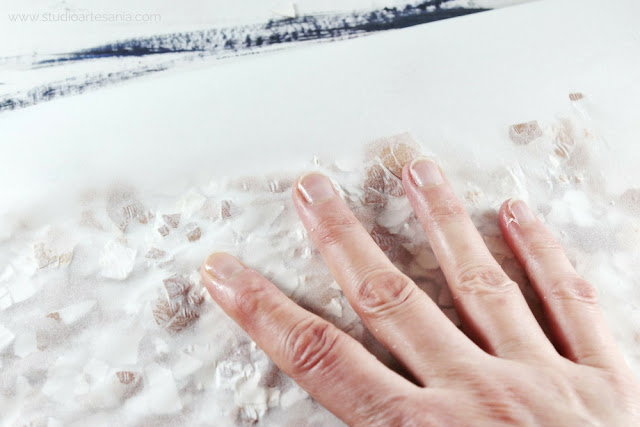
Place the large piece of baking paper over panels and press everything well with your hands to flatten eggshells even more. Some of the pieces of shells will crack or move, but do not worry about that. When you feel under your palms that all surface is flat and smooth carefully remove the baking paper.
Then carefully separate the joint between the two panels, but do not remove the masking tape. Gently push the pieces of eggshells that protrude on the joints inside the panel. Repeat on another joint. Put back the panels in right position, and leave them to dry overnight. If you want to speed up the drying process you can use a hairdryer.
Then carefully separate the joint between the two panels, but do not remove the masking tape. Gently push the pieces of eggshells that protrude on the joints inside the panel. Repeat on another joint. Put back the panels in right position, and leave them to dry overnight. If you want to speed up the drying process you can use a hairdryer.
Step 7.
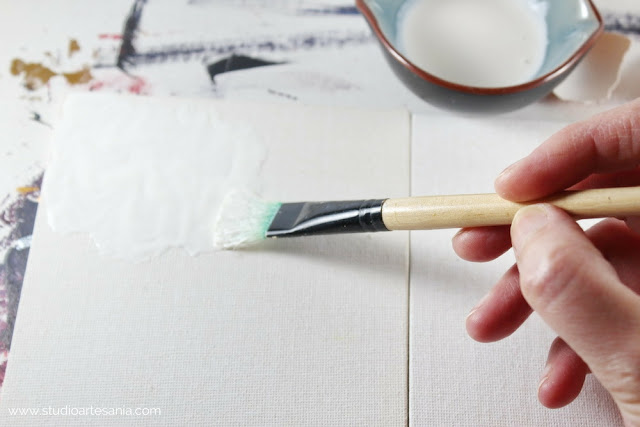
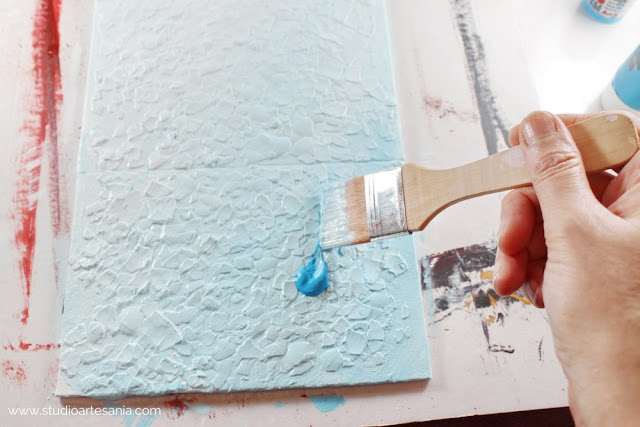
Directly from the tube squeeze out the white acrylic paint on the canvas and with a wide brush cover the surface of all panels although you used white eggshells. Do not overdo it with the amount of paint, but again you have to put enough of it to cover entirely all three panels, including the recesses between the eggshell pieces.
Step 8.
Directly from the tube squeeze a small amount of the turquoise acrylic paint on the down part of the canvases, and spread it diagonally on half of the surface. With brush gradually blend colors, keeping your strokes diagonally, until you get ombre effect from darker turquoise in the bottom right corner to white in the upper left corner. If necessary, add more paints (white or turquoise) on desired spots. Blend the additional paint by pulling the brush in diagonal directions.
You do not have to clean the brush when switching to another color of paint because the mixing will be more effective. But, from time to time you'll notice that the brush has picked up a lot of paints, and then wipe it with paper towels to remove excess paint. To make blending easier you can occasionally wet the brush with a bit of water.
During the blending cover the sides of the panel with paint. Again carefully separate the joints without removing the painter's tape and paint the inner sides of panels. Place the separated canvases on the corner of a table or on the top of the large vase so the joints do not touch and let to paint dry completely. Acrylic paint is dried quickly, but to be completely sure that paint is dry since we use a thicker coating and add a bit of water, it is best to leave the canvas on the side for several hours. To speed up the drying process you can use a hairdryer. Do not forget to wash your brushes.
Step 9.
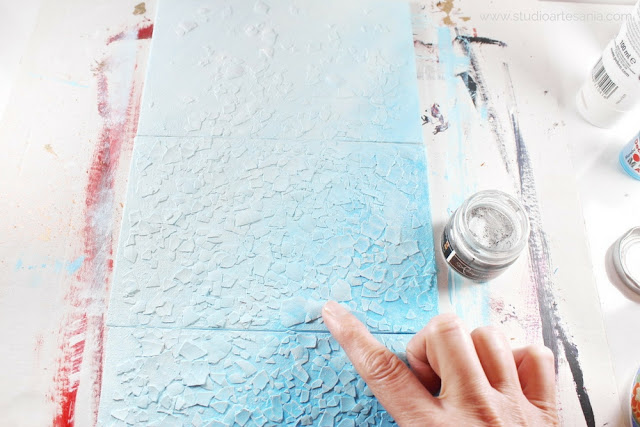
After the paint is dry, connect the joints again so you have one large canvas to work. Gently rub the silver antique paste on eggshells, especially on the darker turquoise blue part of the painting. That way you will add a bit of shine on paint, and those shells will have a look of the pearls. I love to use my index finger to apply paste since it gave me more control of the amount I use and application, but if you do not want to get your hands dirty you can use a brash. Do not overdo it with antique paste, you only want a little bit to emphasize those shells. Let the canvases aside for a little while so the antique paste gets dry.
Step 10.
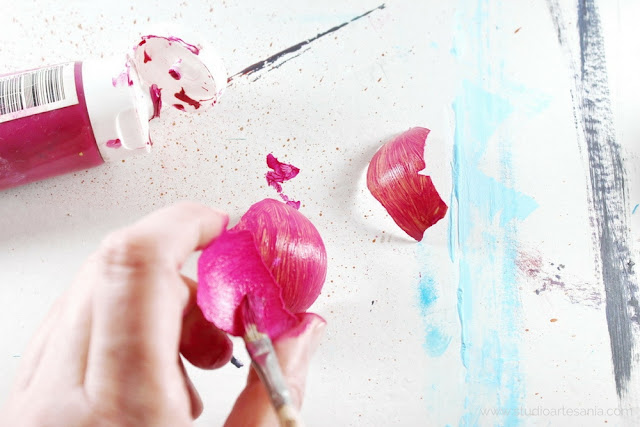
While the paste is drying take three larger pieces of eggshells and paint them on both sides with fuchsia acrylic paint. You will easier paint the white eggshells, but for brown ones, you'll need to apply two layers to cover them completely. Let them dry between every layer.
Step 11.
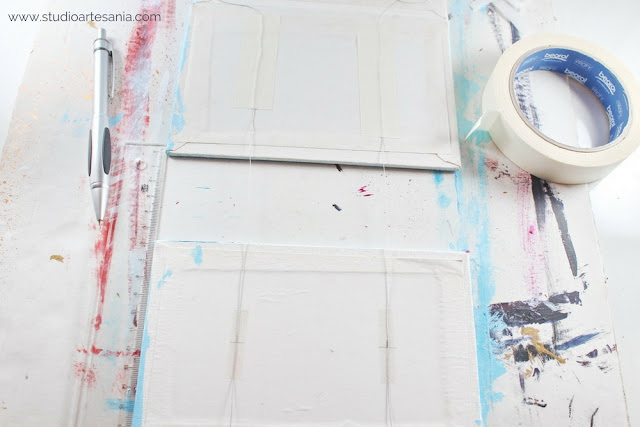
Turn the panels on the back, and remove the painter's tape on joints. Using ruler measure 5 cm (2 inches) on each side of the panel in length and mark it with the pencil. Cut small pieces of double-sided tape and glue it onto the marked spots on the panel making sure that the mark is in as much as possible in the middle of the tape. Repeat for other panels.
Connect both ends of the wire to get two strips of the same length, but do not bend the joint completely. Measure about 10 to 12 cm (3.9 to 4.7 inches) on each side of the joint, lean against the edge of the first panel and stick rest of the wire to the tape. Use marks to keep the wire straight as possible. Then secure the wire on the place with hot glue and cover it with a piece of painter's tape. With a ruler measure a 6 cm (2.3 inches) gap between the two panels, gently tighten the wire and stick it to the tape. Secure it with the hot glue and painter's tape. Repeat the procedure of measuring, sticking, hot gluing and securing the wire for the third panel. Cut off excess wire and secure its ends with painter's tape. The hot glue and painter's tape is strong enough to keep the wire in place after you hang the painting.
Step 12.
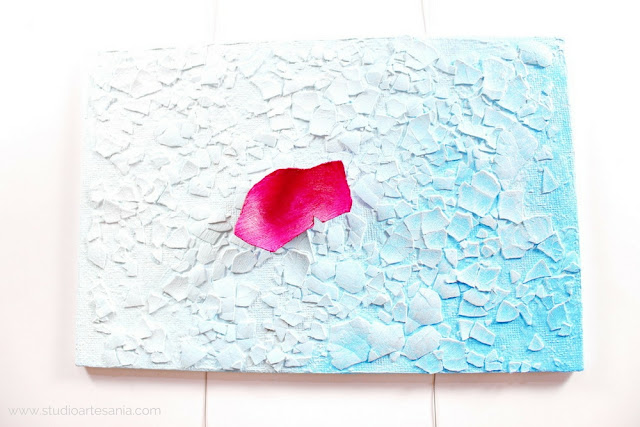
Turn the painting on the right side again. Apply a small amount of tacky glue on the back of the fuchsia eggshell, and with the gentle pressure of the finger so the shell does not break place it in the desired position. Repeat for other two fuchsia eggshells, and leave to dry for a couple of hours.
If you don't want to wait you can use the hot glue gun. Just apply a dollop of the hot glue on the back of the eggshell, position it on the painting, press gently with the finger, and hold it for few seconds until glue become hard. That's it! Your ombre texturized triptych painting is ready to hang it on the wall.








0 comments