Give your vase a spring makeover
This is one of those Do It Yourself Projects that is great on style but light on the budget. What I like most about it, except that the used materials are not expensive, is the unlimited possibilities of design, as well as the ability to make a beautiful decoration from something unpleasant to the eye. It's great to hide ugly old vase or plant pot, to give a spring makeover to your favorite vase, to reuse the empty can that you would throw away, or to quickly make a vase from the glass. The possibilities are endless. All you have to do is to choose your paper straw color and pattern and spend about 15 minutes of your time to turn them into the cute home decor.
Paper straws are very cheap, and there are so many colors and patterns options. In this tutorial, I will show you two different ways to use those straws. The end result is much the same, but the way of the application is completely different so you can choose the approach that suits your need the most.
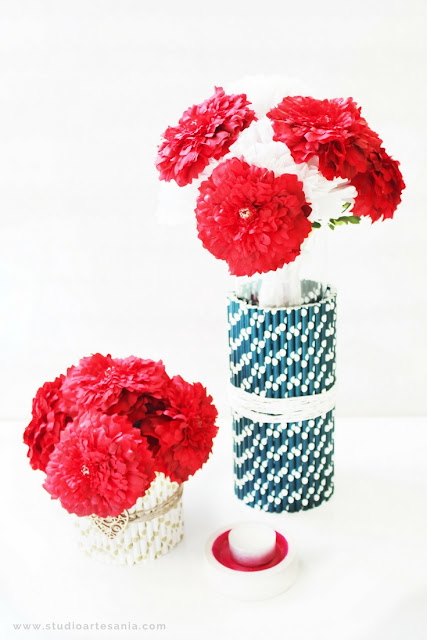
Bluish green vase with the white dots
I have few vases, but my favorite is high glass vase that you can see on pics of several of my DIY projects. But, from time to time I like to give it a new look and decorate (change) it a bit. Since I don't want to make those changes permanent, I came with the solution that can be easily removed when I do not need or want that decoration anymore. The solution is removable vase cover, and here is how to make it.
Materials and tools
Paper Straws
Double-sided tape
Vase, glass or jar
Thicker paper
Scissors
Ruler
Tailor's meter
White paper ribbon
Step 1.
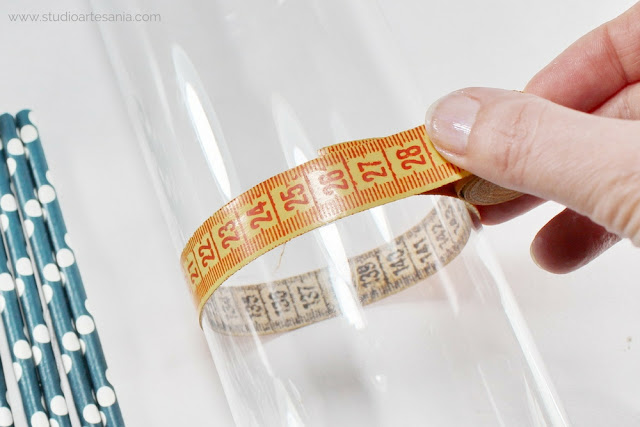
Measure the volume of the vase, larger glass or the jar you want to cover. Take the thicker paper, measure and mark required length with additional 10 cm (4 inches) for bending. The volume of my vase is 26 cm (10 inches), so I measured the length of 36 cm (14 inches) but also marked appropriate length. The straws are 20 cm (8 inches) long, so in order to paper would be invisible the height should be about 15 cm (6 inches). Cut the shape of paper base with the scissors. It's important that paper edge that will go into the bottom of the vase is straight until you do not have to pay much attention to the upper part that later will be covered.
Step 2.
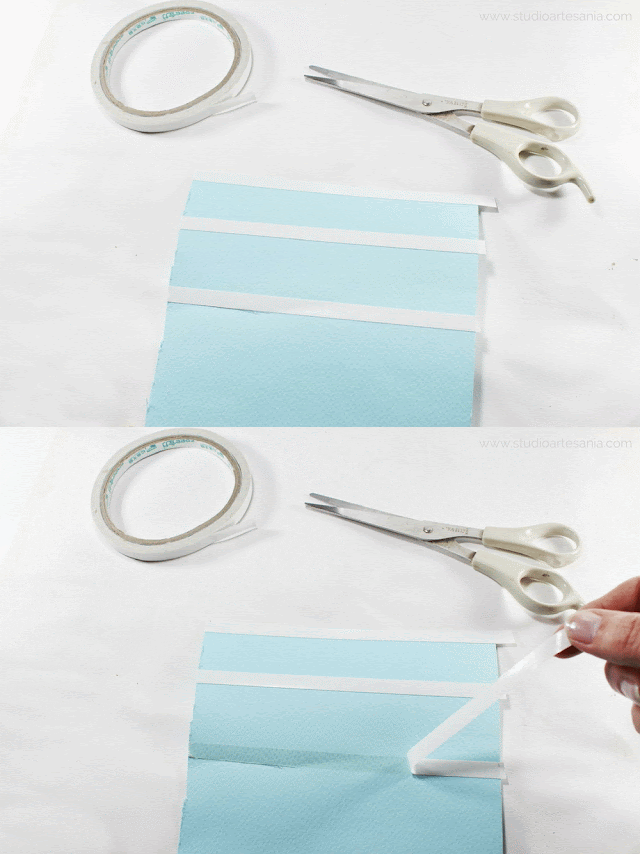
Place the stripe of the double-sided tape on additional part of the paper close to the mark of appropriate length (in my case on 26 cm/ 10 inches). Place another stripe of the tape on the edge of the paper, as well the third one in the middle. Remove the protective paper so that the tape is sticky on the other side.
Step 3.
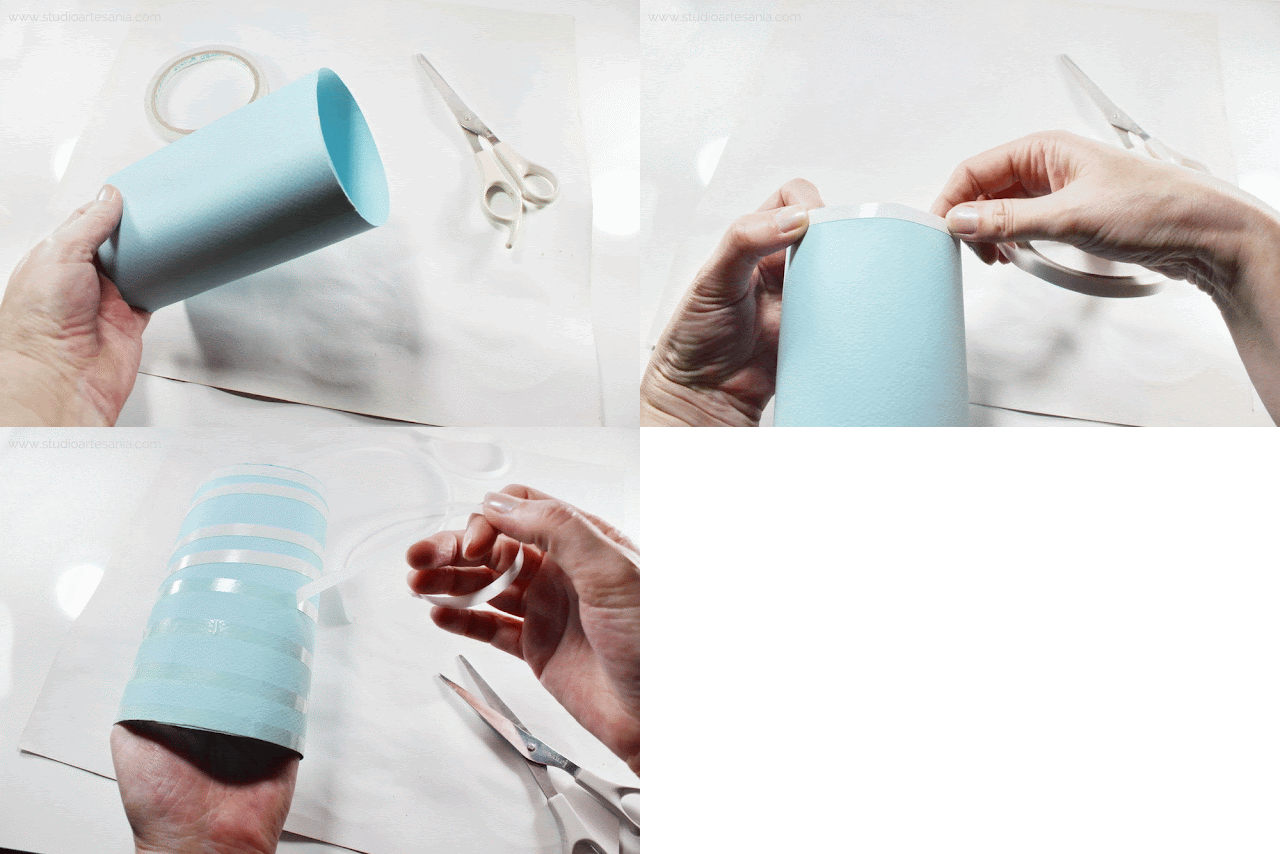
Carefully bend the paper, align the edge with the marked line, and glue everything in place. The additional part of paper should be inside of the tube which will be wide enough to place your vase, glass or jar. Cover as much of the tube surface with the double-sided tape, making sure that the edges of tape and paper are aligned.
Step 4.
After few peeling and sticking the tape will no longer be strong, so just add several new stripes of double-sided tape on the base. If you don't want to change the design, you can attach the straws on the base with the paper glue. In that case, you should wait for the adhesive to dry before use of cover.
Step 5.
To further secure the straws wrap and tie them with the white paper ribbon. Insert the vase inside the base, and put in your favorite flowers.
You can use this cover for different vases, just make the base wide enough for all of them. You can cover with it the glass or ugly jar, and that way gets an interesting vase. After you finish to use it as a vase cover you can place inside fairy lights and use it as a lamp.
White vase with the gold dots
My cat Zvrle loves to eat certain types of food that are packed in cans. As an ecologically conscious being, I like to upcycle those cans, and this is just one of the project I made with them. This is, also, one of those multifunctional projects I love to make, because it can be used as pen or brush holder, a decorative pot for succulents, spices, and other plants, as a candle holder and as a vase for real or artificial flowers. You can use any can regardless of the size and depth, and there are instructions how to decorate them with the paper straws.
Materials and tools
Paper Straws
Hot glue gun
Can
Pliers
Jute Twine
Heart shaped wood sticker (optional)
Step 1.
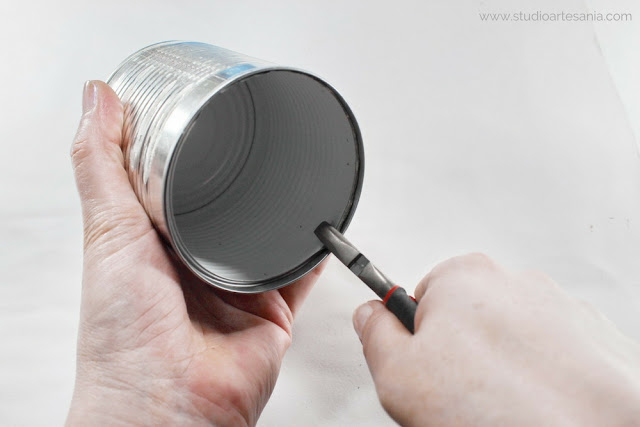
Remove the label from the can and clean it nicely. With pliers squeeze the sharp edges inside it. If you need, process edges additionally with a hammer to make sure that you can’t be injured on it.
Step 2.
Measure and cut the straws. You want them to be slightly longer than the can is. Since the straws are 20 cm (8 inches) and the can I used is 8 cm (3 inches) long, I cut off straws in half (10 cm/ 4 inches). For can large as mine you will need one straw package of 25 pieces. After you finish cutting, stack the straws so that the cut part is one to the other. The cut part of the straw is slightly crushed, so you will easily recognize it. Do not worry if your straws are uneven, that just adds up to the design.
Step 3.
Use the hot glue gun to place glue at the can. Quickly, before the glue hardens, place and firmly press the straw onto the can where you placed the glue and hold for a few seconds. Make sure that the cut part of straw is on the bottom of the can, as well that they are nicely leveled.
Step 4.
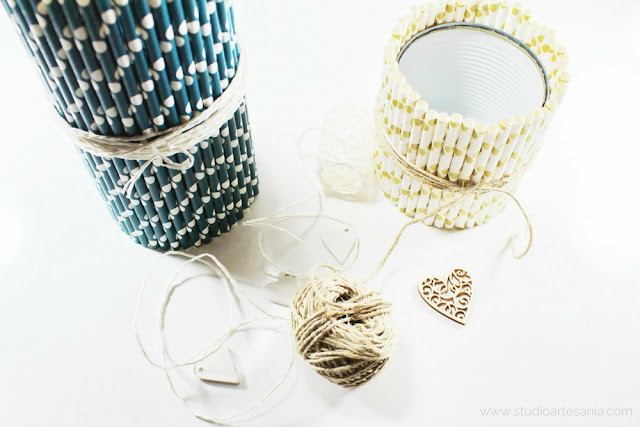
To add a bit more interest to this sweet thing I wrapped and tied some jute twine around the middle of the white vase with the gold dots. I added a wooden heart sticker on it to hide the knot. Insert glass with the water and add a flower bouquet. You can also fill it with your favorite artificial flowers or put inside the plant in the pot.








0 comments