DIY Multifunctional industrial-style coasters

I love to design and create multifunctional objects. You know, the objects that you can use for multiple purposes, and these industrial-styled coasters are one of those. They will not only protect your table while looking stylish, but they can also serve as candle or paper holders, or for storing small things like keys, jewelry, staples.
They can be put on top of each other and used as minimalist sculpture. They can be arranged in various ways - the bottom at the bottom, the top along the top, the bottom along the top - to create different shapes of sculpture. And, depending on the mood, you can put a different color on top every day. They are fun and gorgeous multifunctional objects.

To make them it will take you a few hours, and you need the materials you probably already have in the house. The only tricky part is to find a perfect plastic container for the mold. You will need a plastic container with the raised bottom sufficiently wide to hold your glasses. I reused a package of my favorite hummus. Look for a similar package of yogurt or some kind of spreads that suits your glasses.
Materials and tools
Plaster of Paris
Cotton pads
Vegetable oil
Water
Mixing bowl
A plastic container as a mold
Spatula
Sandpaper
Acrylic paints
Paintbrushes
Step 1.

Step 2.

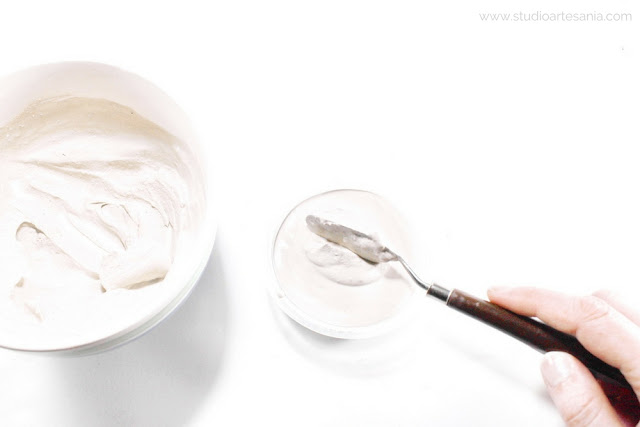
Make sure that your mixture is smooth and without any lumps. Once the plaster is right consistency you are ready to pour. You have about 5 minutes to work with the mixture, so have your mold ready and close by.
Step 3.
You can slowly pour the plaster into the mold, but for this project, I find that is easier to gradually add plaster mixture into the container. I used a spatula to pour a small amount of plaster and then vibrate it (shake it quickly left and right with hand).

Tap the container few times on desk to extract trapped air, and then add more mixture until you satisfied with the thickness of the coaster. Again vibrate it and tap it on the desk to rid the air. You will notice air bubbles appearing on the surface. They will go on their own after shaking and taping the mold, and the surface will again become smooth. Leave it aside to tighten which will, depending on plaster you use, take for about 10 to 20 minutes.

Tap the container few times on desk to extract trapped air, and then add more mixture until you satisfied with the thickness of the coaster. Again vibrate it and tap it on the desk to rid the air. You will notice air bubbles appearing on the surface. They will go on their own after shaking and taping the mold, and the surface will again become smooth. Leave it aside to tighten which will, depending on plaster you use, take for about 10 to 20 minutes.
Step 4.

Repeat all the steps to make more coasters. To make sure that all coasters are the same thickness before you take out the first one from the mold mark its thickness. Just draw the line on the container with the marker, and when you make next coaster you will pour plaster up to the mark.
Step 5.
Although vibrating and taping have helped to have the flat bottom of the coaster, it is not completely flat. Some of the coasters may have uneven edges as well. Therefore, sanding is mandatory. Take a larger sheet of sandpaper and in a circular motion correct any irregularities on the bottom of the coasters. Also, round those edges. For edges, I used my trusty nail file. Remove the dust on coasters with paper towels.


During this step, please, wear the protective mask because you do not want to inhale the dust. Place the old newspaper or larger sheet of baking paper on the table so you can easily remove the collected dust.
Step 6.
Mix acrylic paints and carefully paint an inner circle of the coasters in your favorite colors to create depth and a 3D effect. You can use one color or a different one for each coaster. I used yellow, magenta, green and blue.

Using a different color for each coaster is a great way to avoid mixing glasses. Set aside to dry. It will take about 20 minutes. That's it! Your brand new coasters are ready!

Using a different color for each coaster is a great way to avoid mixing glasses. Set aside to dry. It will take about 20 minutes. That's it! Your brand new coasters are ready!
Oh, and if you enjoyed this tutorial do not forget to show your love by sharing.


0 comments